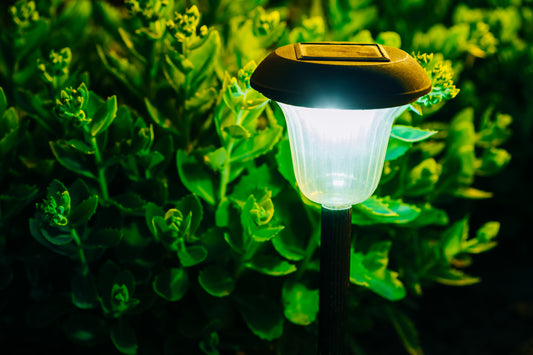
Cleaning Solar Lights: A Step-by-Step Guide
Whether your solar lights are a pathway feature, part of your garden landscaping, or a decorative element on your patio, ensuring they are well-maintained is key to enjoying their full benefits. So here’s a little rundown on How to Effectively Clean Solar Lights.
WHY TO CLEAN SOLAR LIGHTS?
The photovoltaic (PV) cells in solar lights need unobstructed access to sunlight to charge efficiently. Any layer of dust or grime can significantly reduce their charging capacity, thereby dimming your lights or shortening their illumination duration at night. Regular cleaning ensures that your solar lights remain as efficient as when you first installed them.
Gather Your Cleaning Supplies
You'll need:
HERE’S HOW TO CLEAN SOLAR LIGHTS
Step 1: Disassemble (If Necessary)
Begin by carefully disassembling your solar lights, if possible. Remove the light portion from the stake and, if your model allows, gently detach the solar panel from the light fixture. This step ensures that you can clean all parts of the solar light thoroughly without causing damage.
Step 2: Prepare Your Cleaning Solution
Fill a bucket or basin with warm water, adding a few drops of mild dish soap to create a gentle cleaning solution. Dish soap is effective at removing dirt and grime without being too harsh on the solar lights' components.
Step 3: Clean the Solar Panels
Dip your soft cloth or sponge into the soapy water and wring out the excess liquid. Gently wipe the solar panel surfaces to remove any dirt, dust, or bird droppings. For tougher stains or to get into small crevices, use a soft toothbrush dipped in the soapy water solution to carefully scrub the affected areas.
Step 4: Wipe Down the Light Fixture
Using the same soapy water solution, clean the light fixture, including the cover and any other parts that have become dirty. A clear light fixture will allow for optimal light output, enhancing the effectiveness of your solar lights.
Step 5: Rinse and Dry
Once you've cleaned all parts of the solar lights with soapy water, rinse them thoroughly with clean water to remove any soap residue. Carefully dry the components with a soft, dry cloth or allow them to air dry completely in a shaded, well-ventilated area before reassembling.
Step 6: Reassemble and Place in a Sunny Spot
After the solar lights have dried completely, reassemble them and place them back in their designated spots. Ensure that you position the lights where they will receive maximum sunlight exposure for efficient charging.
Maintenance Tips
CONCLUSION
Make sure that your Forthlighting solar lights last as long as possible and work as efficiently as possible by following our blog for expert maintenance and cleaning recommendations. Following these guidelines will keep your solar lights working reliably for a long time and increase their longevity.